 Good Morning,
I really enjoyed the discussion yesterday about technique. Machine quilting is one of my favorite things to do simply because it provides so much freedom of design. I know that if I can doodle it, I can quilt it. My machine and I are dance partners. I lead it across the surface of the quilt top and wheedle beauty out of it.
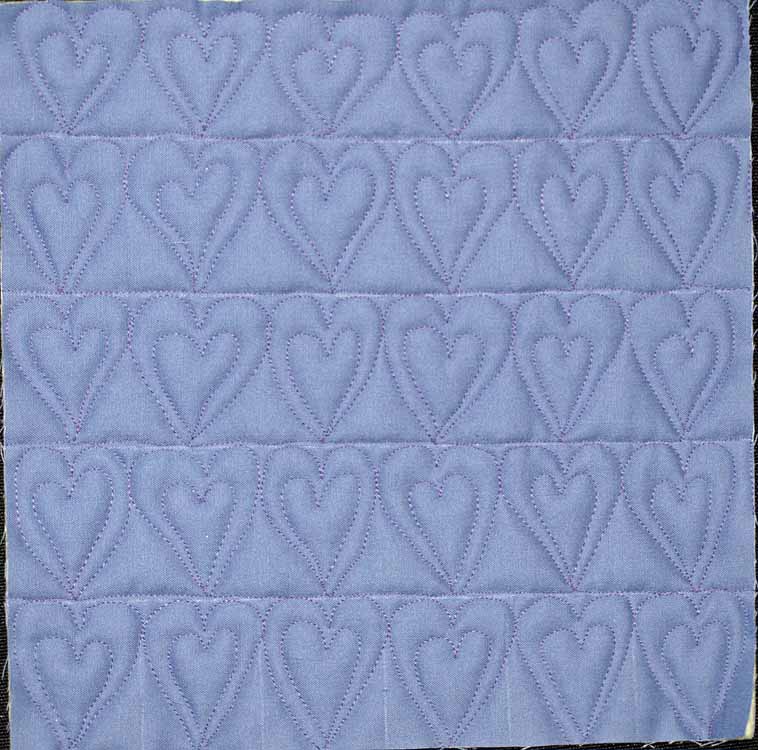
Today's stitch-out is a border treatment that can be used with yesterday's design. Here, I have stitched several rows of Double Hearts, one row above the next. I probably wouldn't do this on a quilt, but it's great practice. This design looks great in borders that are up to 3" wide. If I was going to put it in a wider border, I would plan on doing three rows of small hearts, with the middle row off set so that the bottom tips sit in between the hearts in the row below it.
It will be easier to get proficient at this design if you mark the rows on your quilt top. Use a Hera marker so you don't have to worry about removing the marked lines. Draw out some lines on your practice paper and doodle the design first. I made my rows two inches wide. A also subdivided the bottom row into six sections so that I would have a guide as to how large to make each of the hearts in the bottom row. Once that row is stitched I can use those hearts to size the ones in the row above it.
Begin stitching in the section marked in the bottom left hand corner. Place your needle down in the middle of the section in the left hand corner, along the bottom edge. Begin the heart at the tip and curve out toward the left, make the top left bump then the cleft, followed by the top right bump then stitch back down to make the tip. Now, stitch a smaller heart inside the larger heart. Once you are back at the tip, stitch over to the right along the edge until you are at the center point of the next section where you want the next heart. Stitch the next heart trying to make it very similar in size and shape to the first heart. Stitch a smaller heart inside it and once you are back at the tip stitch over to the right along the edge till you get to the center of the next section and make another double heart. Continue making hearts in each section until you have completed the first row.
Once the first row is complete, stitch up along the right edge till you get to the line that separates rows one and two. Stitch to the left along the marked line till you get to the center of the cleft of the heart below. Stitch a double heart. Now stitch along the marked line until you are above the cleft in the second heart below and stitch another double heart. Continue stitching until you have completed the second row then move up and stitch the remaining rows using the same technique.
This is a fun, feminine border design. I hope you enjoy stitching it out,
Till tomorrow,
Heather

No comments:
Post a Comment